Surface preparation

  • Before applying decorative stones or bricks, ensure that
    the wall surface (concrete, plaster, drywall) is clean, stable, rough, absorbent, and dust-free.
  • If the wall is painted, you must remove the paint or wallpaper.
  • Hammer the surface, to make it embossed and to achieve the best possible adhesion of the glue.
  • Do not install stones on unstable substrates (e.g., wood, sheet metal). If your surface consists of an unstable substrate, we recommend covering it with Rowmat board
    before placing the stone or brick of your choice. Before installing the stones, apply primer to the wall surface to reduce absorbency and increase the adhesive’s bonding strength.
  • On every surface, particularly those exposed to moisture and those subjected to significant expansion and contraction, it is recommended to install a decoupling and waterproofing membrane to prevent the formation of hairline cracks in the joint and the material. For the installation of the membrane, consult the manufacturer’s instructions.

Installation

  • For the placement stones or bricks, we recommend a high-performance cement-based adhesive (C2TE). The consumption of the glue depends on the surface and the type of lining (stone or brick) and is estimated at about 5-6 kg per m2. To prepare the glue, follow the packaging instructions.
  • Apply the glue to the primed surface of the wall with a serrated spatula (8 mm) and then spread it evenly over the entire back surface of the stone or brick without leaving any residue around it. Apply enough glue so that there is no gap between the stone and the wall.
  • If you have chosen stones or bricks that need grouting, be sure to leave a gap of about 8-9 mm between them.
  • For surfaces longer than three meters (3 m), it is recommended to create control joints.
  • Attention! Before laying, open 2 or more cartons and select mixed stones to create a balance between different colors, shapes, thicknesses, and textures.
  • If the installation includes corner pieces, always start with them, and continue the installation according to the instructions.
  • Place the stone by pressing hard to ensure perfect adhesion of the stone or brick to the wall surface.
  • If the stone surface gets stained with adhesive, allow the adhesive to dry (following the manufacturer’s instructions) and then remove the excess material with a metal object. Avoid using a wire brush or a wet sponge. Ensure your hands are free from adhesive stains to prevent soiling the stones.
  • Once you have completed the laying of the stones, wait for the adhesive to dry (according to package instructions), and develop its strength for about 24 to 72 hours (depending on outside temperatures).

Grouting

  • In case the stones or bricks you have chosen need grouting, make sure that you have left a gap of about 8-9 mm between them.
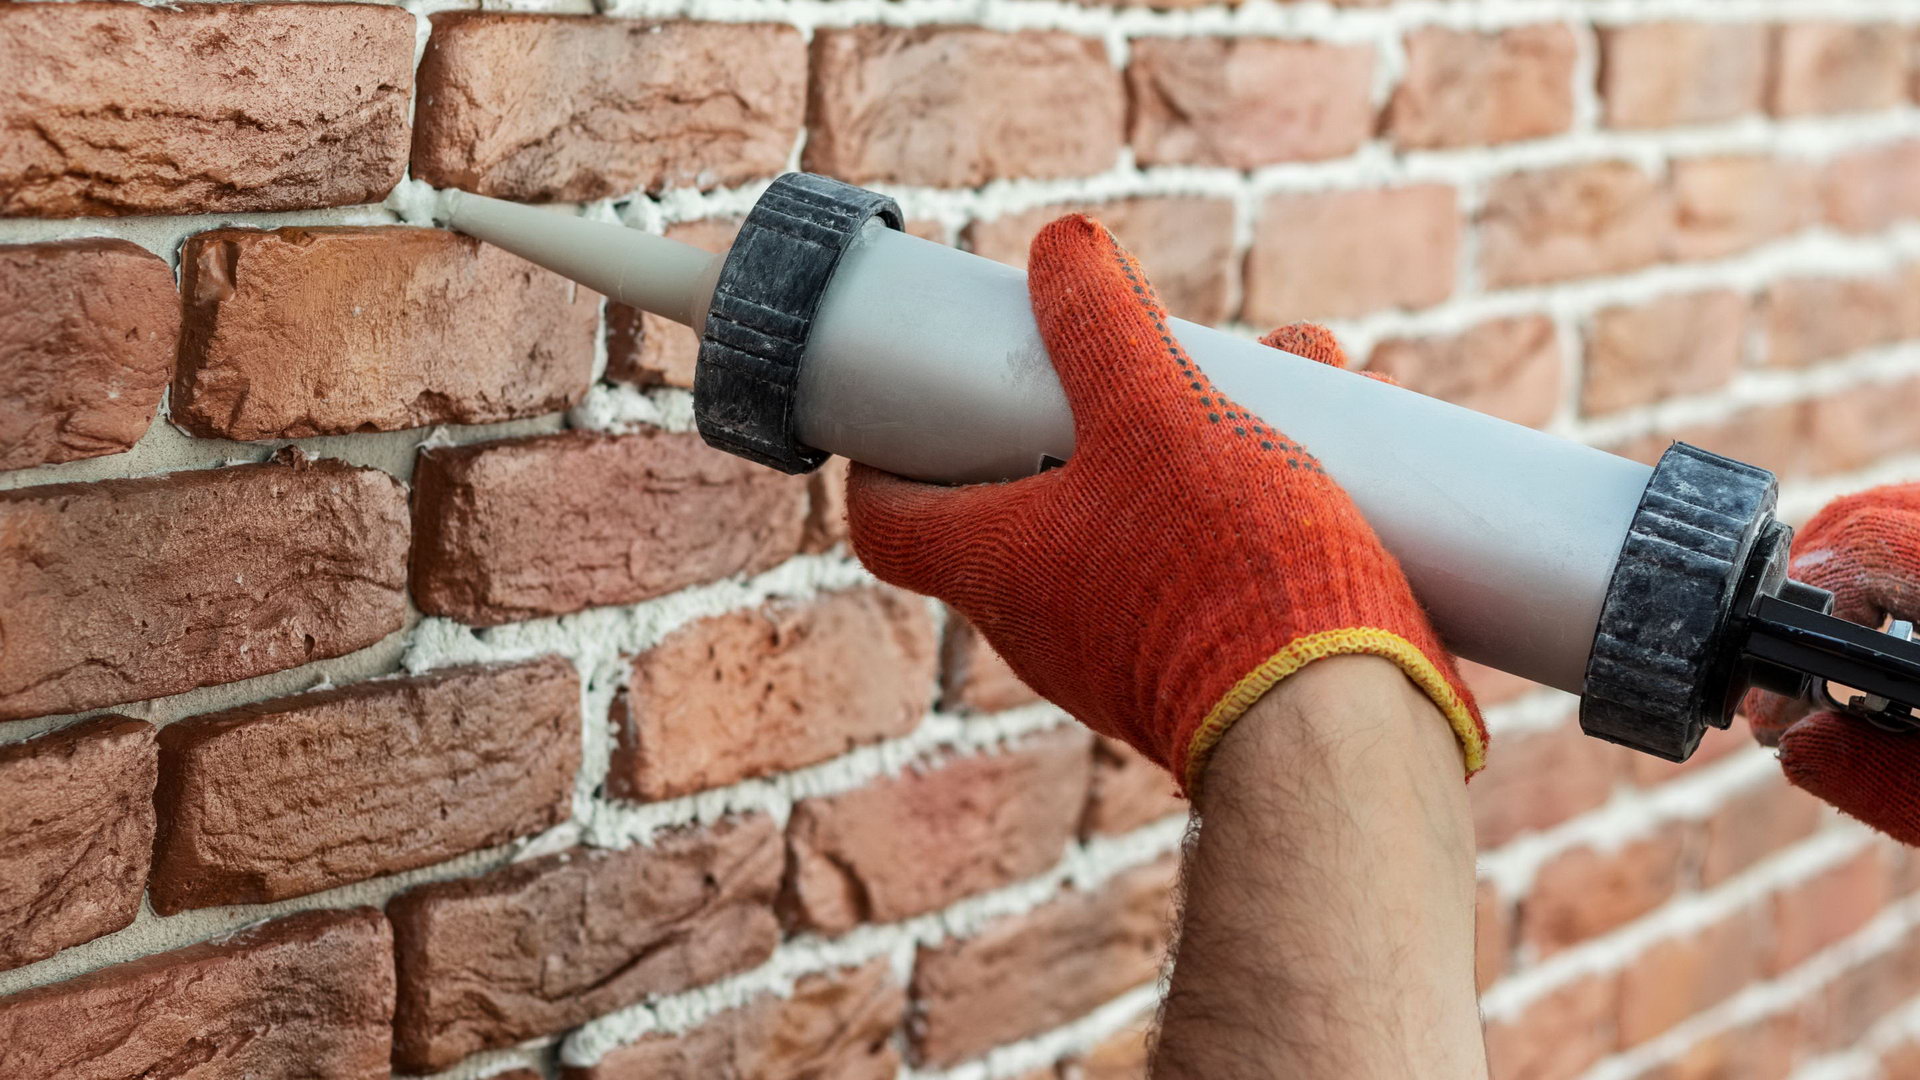
  • For grouting the stones, choose the Key Grout Color by Hellas Stones in the shade you want. Apply the grout carefully only with a pastry bag or joint gun.
  • To enhance the strength of the grout is recommended to enrich the grout mixture with the improving resin of Hellas Stones, the Extra RS.
  • Once the joint starts to dry (2 – 4 hours), use a spatula or other 8 mm thick metal object to scrape the joint and adjust it to the appropriate level.
  • Attention! Do not use a sponge or water to clean the stones.
  • In case the stone surface gets dirty from the grout, let the grout dry (according to package instructions) and remove the extra material with a metal object. Do not use a wire brush or damp sponge.
  • After the surface is dry, you can apply one or two coats of VK Stone Protect.
image
https://www.hellasstones.com/wp-content/themes/hs/
https://www.hellasstones.com/en//
#f4801f
style1
paged
Loading posts...
/home/hellasstonescom/public_html/
#
on
none
loading
#
Sort Gallery
https://www.hellasstones.com/wp-content/themes/hs
on
yes
yes
off
Enter your email here
on
off
en